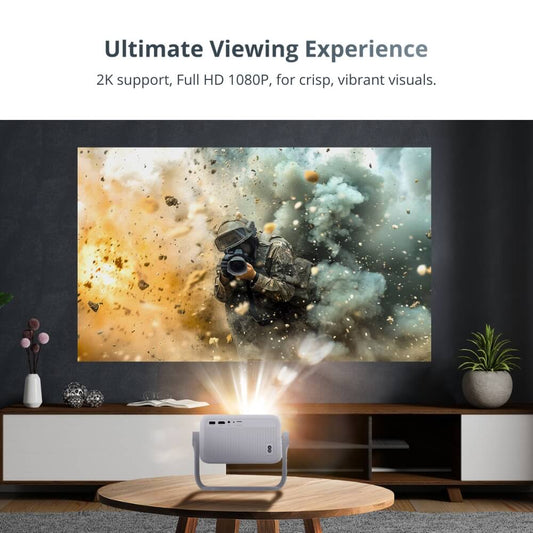
Want to enjoy a clean, cable-free home cinema setup? Installing a ceiling mount for your projector is easier than you think — and takes less than 20 minutes. Here’s how to do it right.
Why Use a Ceiling Projector Mount?
- Cleaner setup: No messy wires or tables in the way.
- Perfect positioning: Aligns the projector at the ideal throw distance and height.
- Safe & secure: Keeps your projector protected from kids, pets, or accidents.
What You’ll Need
- Your Vision Beam projector
- A Vision Beam Ceiling Mount — Standard or Premium version
- Drill & screws (included in the kit)
- Measuring tape & pencil
- (Optional) Stud finder for drywall installation
Step-by-Step Installation (Takes ~20 Minutes)
1. Choose the Right Spot
Make sure your ceiling area is directly above the center of your screen. Use a measuring tape to confirm distance and angle. If installing on drywall, locate a ceiling stud for a secure fix.
2. Mark and Drill the Holes
Use the mount’s base plate to mark screw holes with a pencil. Then drill holes and insert wall plugs (if needed). This step usually takes under 5 minutes.
3. Attach the Mount Base
Secure the mount base to the ceiling using the provided screws. Make sure it’s firmly in place before attaching your projector.
4. Connect and Adjust Your Projector
Mount the Vision Beam projector to the arm. Use the adjustable tilt to align it with your screen. Tighten the screws to lock it in place.
5. Test and Enjoy
Power on your projector, align the focus, and adjust keystone if needed. You're done!
Which Ceiling Mount Should You Choose?

- Vision Beam™ Ceiling Mount – A reliable, easy-to-install solution for most rooms.
- Vision Beam™ Premium Ceiling Mount – Sleeker design, reinforced structure, ideal for high ceilings or modern setups.
Both are compatible with all Vision Beam models. Choose the one that fits your style and space best.
Want a Premium Home Cinema Setup?
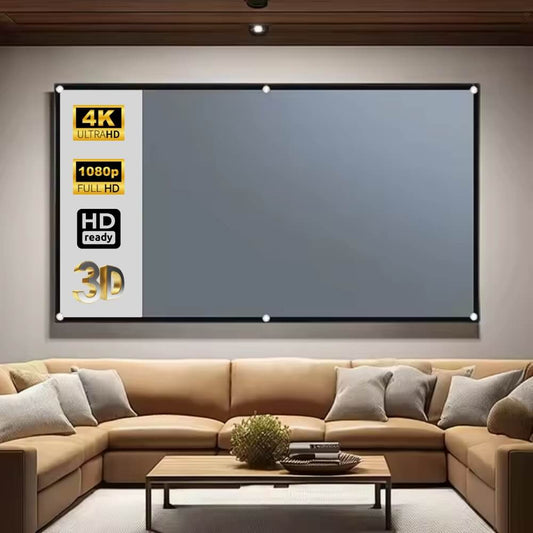
Pair your ceiling mount with a portable screen and speaker for the ultimate viewing experience.


